Show your DIY Ideas and Projects
Moderator: carlson1
-
n5wmk
- Senior Member
- Posts in topic: 1
- Posts: 416
- Joined: Wed Apr 27, 2011 5:45 pm
- Location: Lucas, TX
Re: Show your DIY Ideas and Projects
Nice work! Been years since I hand crafted leather, never did progress to holsters.
EDC CZ 2075 RAMI
NRA Benefactor Life Member
USAF 1972-1980
Texas A&M -1980-1984
NRA Benefactor Life Member
USAF 1972-1980
Texas A&M -1980-1984
Re: Show your DIY Ideas and Projects
My latest holster for IWB. It started its life as OWB, but since I already had a great OWB I bought a dozen years ago, I thought I'd convert this one. Added the extensions and loops with snaps. The photo doesn't show it, but the loops fold down, of course. It's very comfortable.
-
Chemist45
- Senior Member
- Posts in topic: 1
- Posts: 875
- Joined: Wed Jan 23, 2008 10:43 pm
- Location: Kingsland, TX
Re: Show your DIY Ideas and Projects
Details man, details!
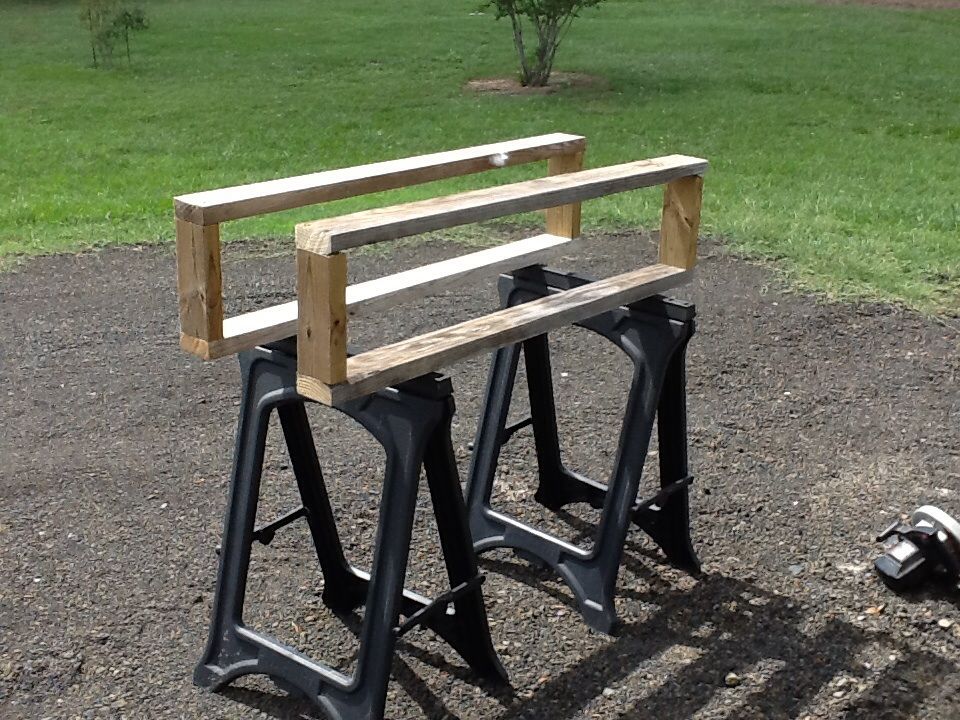
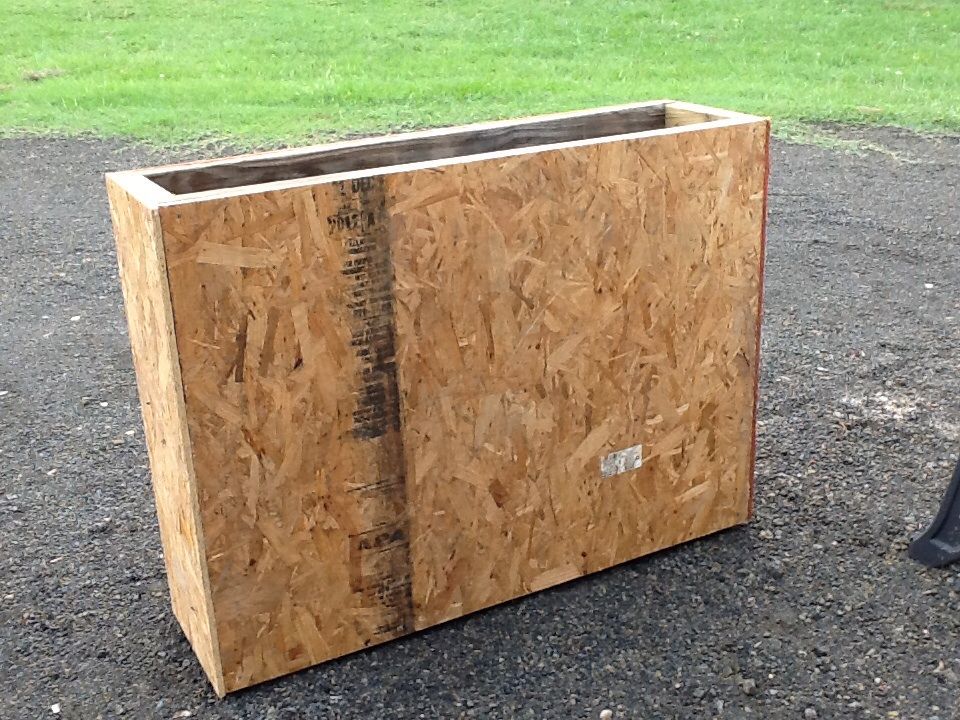
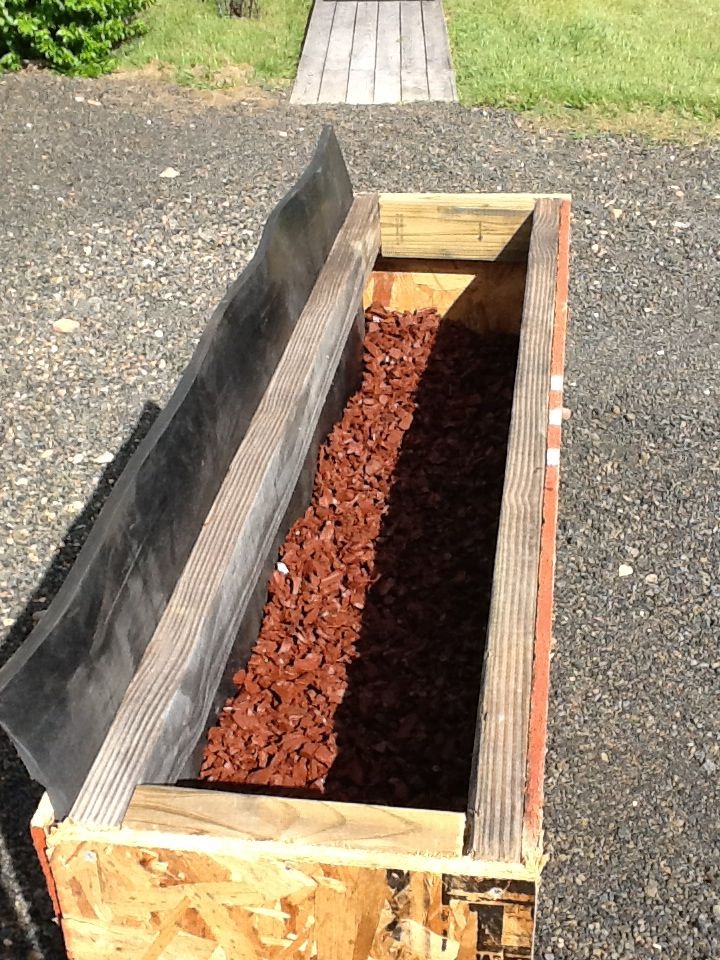
What's the filling on the bullet trap?
Where did you get it?
Dimensions?
What is that black thing?
What side is that on?
What's the filling on the bullet trap?
Where did you get it?
Dimensions?
What is that black thing?
What side is that on?
-
Pawpaw
- Senior Member
- Posts in topic: 1
- Posts: 6745
- Joined: Sat Jun 19, 2010 11:16 am
- Location: Hunt County
Re: Show your DIY Ideas and Projects
It looks like railroad ballast.
Facts are stubborn things; and whatever may be our wishes, our inclinations, or the dictates of our passions, they cannot alter the state of facts and evidence. - John Adams
-
Texascrewser
- Junior Member
- Posts in topic: 1
- Posts: 43
- Joined: Wed Dec 19, 2012 11:58 am
Re: Show your DIY Ideas and Projects
Looks like the shredded rubber landscape mulch.
Re: Show your DIY Ideas and Projects
Those clips are sale right now, or at least they were last night. 1.99 each seems to be a pretty good deal. I need to make it by their show room at some point.drjoker wrote:
I bought all the materials from Tandy Leather. Cost is $64, not including cost of tools. The belt clips alone are $8, Item #1240-24.
Re: Show your DIY Ideas and Projects
1. Rubber mulch from Home DepotChemist45 wrote:Details man, details!
What's the filling on the bullet trap?
Where did you get it?
Dimensions?
What is that black thing?
What side is that on?
2. I made it myself.
3. 3ft high x 4ft wide x 1ft thick
4. 1/2" thick conveyor belt from work
5. Shooting at the conveyor belt side.
-
Blindref757
- Senior Member
- Posts in topic: 1
- Posts: 508
- Joined: Wed Jun 29, 2011 6:40 pm
- Location: Denton
Re: Show your DIY Ideas and Projects
What is this called and how did you do it? ^
Re: Show your DIY Ideas and Projects
Clean the area that you want filled with 98% Isopropyl Alcohol. let dry.
- Pick finger nail polish color you want to fill lettering with and basically paint over the letters not worrying if you get out of the letters. I basically painted a box around the letters making sure the paint filled all the letters.
- Let paint totally dry
- take cotton pads, (not soaked) with NON-ACETONE finger nail polish remover and slowly glide it over the painted area gently.
- Basically you will remove the nail polish on the surface area but the polish that went into the engraved lettering will remain. Remember to wipe with a slight touch. do not press down to hard.
- once you are done get a towel with Rem oil (or other gun oil) and give a god rubbing to get the luster back
- Nail polish
- 98 Isopropyl Alcohol
- non-acetone finger nail polish remover
- cotton pads, or q-tips
-
uthornsfan
- Senior Member
- Posts in topic: 3
- Posts: 490
- Joined: Sun Jan 30, 2011 11:13 pm
- Location: Austin, TX
Home made snap caps
So I ordered some snap caps but I figured I could just as easily make some at the TechShop in Round Rock and return the ones I purchased.
Picked up 1/2" x 36" aluminum rod from Home Depot for around $8 after tax.
Headed to the tech shop and started taking some measurements. I hadn't been on the metal lathe in about 6 months so it took me a little while to get comfortable with everything and 2.5 hours later I have 4 .45 ACP snap caps. Now some of them aren't pretty as I am a total NOOB on the lathe but the last one I did was really nice. I think my next trip up there I will be able to get five .45ACP and five 9MM snap caps finished.
Obviously it is not completely finished as the edges on the rim are pretty rough. This was my first one. I also drilled a hole where the primer pocket would go and plan on filling it with some kind of rubber product to protect the firing pin. This was done more for fun and to get me out of the house than to save money. Althought at $14 bucks for five .45 snap caps and $14 bucks for five 9mm caps this is significantly cheaper except for time factor :)
Enjoy the pics.


Re: Show your DIY Ideas and Projects
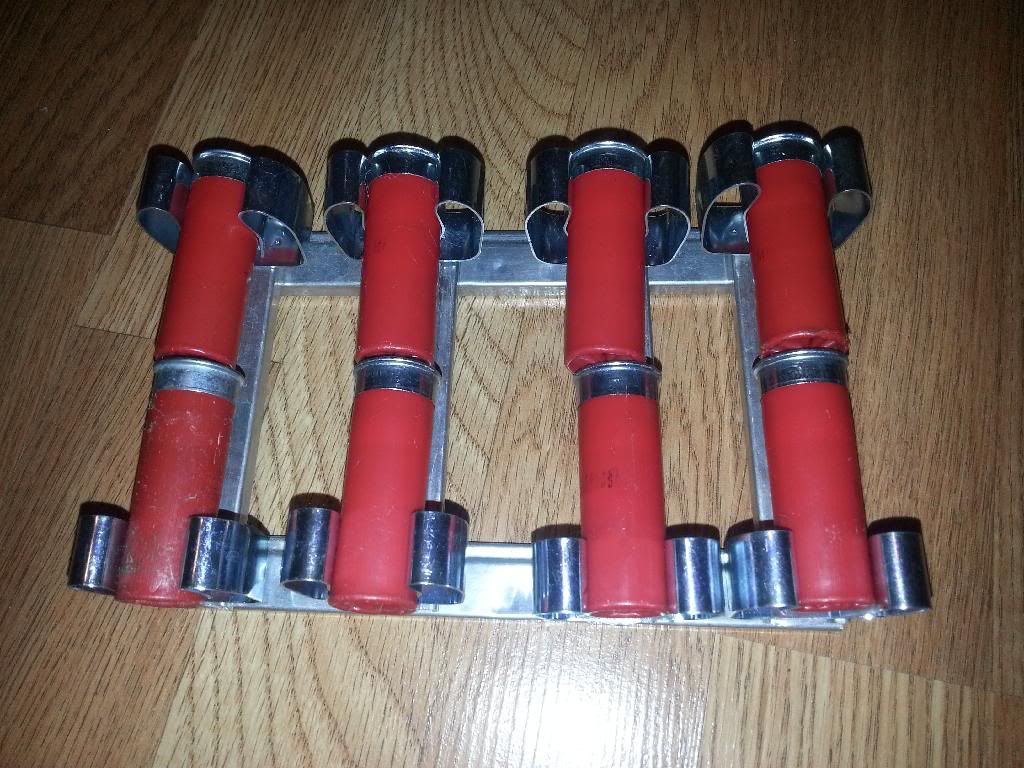
DIY dual shotgun shell cadie for 3 gun speed loading. Still a prototype.

Re: Show your DIY Ideas and Projects
A friend of mine made some of these with his laser cutter. They are Acrylic material bent with a hotwire.
-
Paul's Shield
- Member
- Posts in topic: 4
- Posts: 83
- Joined: Mon Jan 13, 2014 10:27 pm
- Location: Katy, TX
Re: Show your DIY Ideas and Projects
I polished the barrel of my S&W M&P Shield
Have to apologize I didn't get a before picture but it was the exact same color as the rest of the pistol.
Materials needed: Mother's mag & aluminum polish, 400, 800, 1500, & 2000 grit sand paper, Red scotchbrite pads, Dremel tool with polishing wheel & red compound.
Step 1: soak in vinegar for 3-4 hours
Step 2: Take red scotchbrite pad and put some mag polish on it and give it an inital rub. do this for about a few minutes
Step 3: Take 400 grit paper and apply some more mag polish and rub, rub, rub slowing increasing to the finest grit paper. Wipe it down to see progress.
Step 4: once you feel you removed enough of the black coating take the dremel tool and apply some compound to the polishing wheel and start polishing it up. This took me about 15-20 minutes. I would rub off the compound once it turned black to check progress and kept polishing until I was satisfied.
Step 5: apply mag polish and wipe off with micro fiber cloth.
Final: clean barrel as if you were just cleaning right after coming from the range.
this process will apply to basicly any part. You'll notice I also did the spring stop.


"Just put that hammer down and give it h3ll" - Jerry Reid
